VoltOps Platform
The VoltAgent VoltOps Platform is a web-based tool designed to help you observe and debug your AI agents during development.
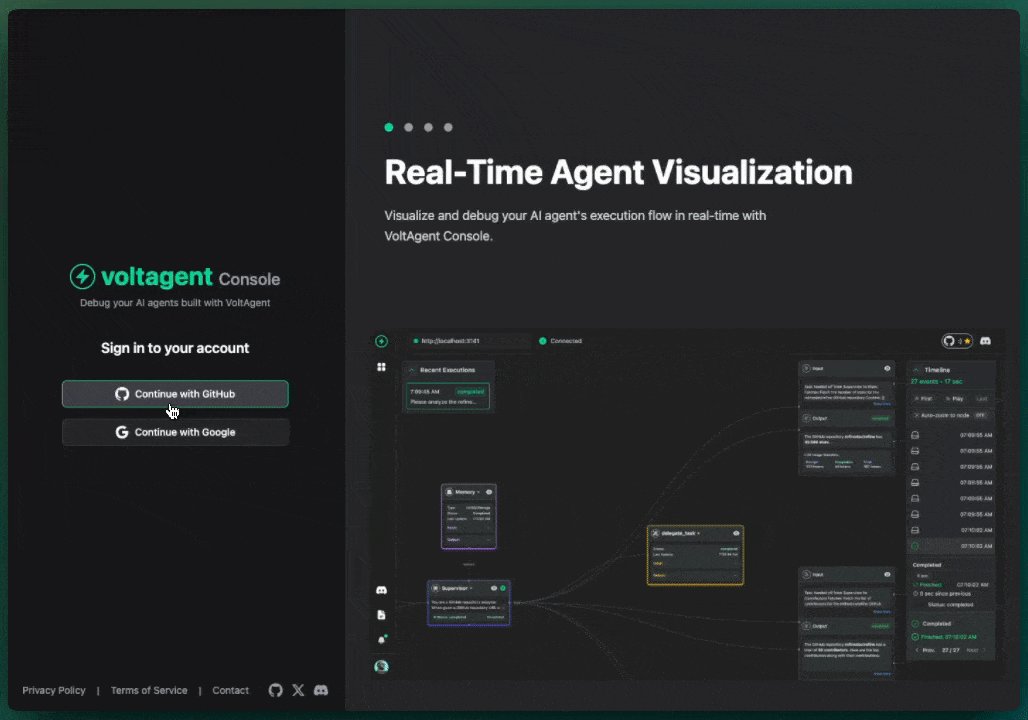
Accessing the Console
You can access the hosted VoltOps Platform at: https://console.voltagent.dev/
How it Works
When you run a VoltAgent application locally, it exposes a local server (typically on port 3141). The VoltOps Platform connects directly to this local server via your browser.
Key Features (Local Debugging):
- Local Connection: The console communicates directly with your local agent process. No data is sent to or stored on any external servers for this local debugging mode. Your agent's execution data remains entirely on your machine.
- Real-time Visualization: See the agent's execution flow, including function calls, tool usage, and message history, as it happens.
- Debugging Tools: Inspect the details of each step, view logs, and analyze the agent's state at different points in time.
Important Note on Data: The VoltOps Platform at https://console.voltagent.dev/ when connected to your localhost is for local debugging only. It does not store your data remotely.
Getting Started
-
Ensure your VoltAgent application has observability enabled and is running locally. You should see output similar to this in your terminal, confirming the server is ready:
══════════════════════════════════════════════════
  VOLTAGENT SERVER STARTED SUCCESSFULLY
══════════════════════════════════════════════════
  ✓ HTTP Server:  http://localhost:3141
  ↪ Share it:    pnpm volt tunnel 3141 (secure HTTPS tunnel for teammates)
     Docs: https://voltagent.dev/deployment-docs/local-tunnel/
  ✓ Swagger UI:   http://localhost:3141/ui

  Test your agents with VoltOps Console: https://console.voltagent.dev
══════════════════════════════════════════════════
[VoltAgent] All packages are up to date -
Open https://console.voltagent.dev/ in your browser.
-
The console should automatically attempt to connect to
http://localhost:3141. If your agent is running on a different port, you can configure the connection URL in the console's settings.
Storage: In‑Memory (default) vs LibSQL (persistent)
By default, observability traces and logs are kept in process memory only. This is ideal for local debugging sessions, but data is not persisted once the process exits.
To persist observability data, provide a storage adapter to VoltAgentObservability. Use @voltagent/libsql for a simple, file‑backed SQLite database or a remote Turso LibSQL instance.
Example (persist with LibSQL):
import { VoltAgent, VoltAgentObservability } from "@voltagent/core";
import { honoServer } from "@voltagent/server-hono";
import { createPinoLogger } from "@voltagent/logger";
import { LibSQLObservabilityAdapter } from "@voltagent/libsql";

// your agent instance
import { agent } from "./agent"; // adjust path as needed

const logger = createPinoLogger({ name: "my-voltagent-app", level: "info" });

new VoltAgent({
  agents: { agent },
  server: honoServer(),
  logger,
  observability: new VoltAgentObservability({
    logger,
    storage: new LibSQLObservabilityAdapter({
      // Local file (default): creates ./.voltagent/observability.db if not present
      // url: "file:./.voltagent/observability.db",
      // Remote Turso example:
      // url: "libsql://<your-db>.turso.io",
      // authToken: process.env.TURSO_AUTH_TOKEN,
    }),
  }),
});
Notes:
- In‑memory storage remains the default when no
storageis provided. - The LibSQL adapter works for both traces and logs. Real‑time WebSocket view remains available either way.
- File‑backed mode uses SQLite via LibSQL; directories are created automatically for the default path.
Production Observability (Auto)
VoltAgent now uses the new OpenTelemetry-based observability module and enables production export automatically when API keys are present in your environment. No code changes are required.
- Add keys to
.env:
# .env
VOLTAGENT_PUBLIC_KEY=pk_...
VOLTAGENT_SECRET_KEY=sk_...
-
Get keys quickly: Visit https://console.voltagent.dev/tracing-setup and use the auto-install to generate the snippet. Once added, production observability turns on automatically.
-
What happens under the hood:
- Built on OpenTelemetry (standard OTLP over HTTP).
- Remote export initializes lazily only when valid keys are detected.
- Smart batching with backpressure ensures minimal overhead for your requests.
- Local, real-time debugging via WebSocket stays available regardless of remote export.
Nothing else is needed. Your traces and logs will stream to VoltOps securely when running in environments with keys configured.
Environment Variables
VOLTAGENT_PUBLIC_KEY=your_public_key_here  # must start with pk_
VOLTAGENT_SECRET_KEY=your_secret_key_here  # must start with sk_
If keys are missing or invalid, VoltAgent continues to run locally with full real-time debugging, but skips remote export.
Advanced: Override Observability Behavior
The defaults work for most cases. If you want to fine-tune sampling or batching, provide a custom VoltAgentObservability when creating VoltAgent.
import { VoltAgent, Agent, VoltAgentObservability } from "@voltagent/core";

const observability = new VoltAgentObservability({
  serviceName: "my-service", // Optional service metadata
  voltOpsSync: {
    // Sampling: always | never | ratio | parent
    sampling: { strategy: "ratio", ratio: 0.25 }, // 25% sampling

    // Smart batching & timeouts (OTLP Batch* defaults shown for reference)
    maxQueueSize: 4096,
    maxExportBatchSize: 512,
    scheduledDelayMillis: 4000,
    exportTimeoutMillis: 30000,
  },
});

const agent = new Agent({
  name: "My Agent",
  instructions: "You are a helpful assistant.",
  model: "openai/gpt-4o-mini",
});

new VoltAgent({ agents: { main: agent }, observability });
Common overrides:
- Disable remote export: Keep local console debugging only
new VoltAgentObservability({
  voltOpsSync: { sampling: { strategy: "never" } },
});
- Sample by parent: Inherit sampling decision from the parent trace
new VoltAgentObservability({
  voltOpsSync: { sampling: { strategy: "parent" } },
});
These controls are OpenTelemetry-compliant and affect both traces and logs. Real-time local view and in-memory storage remain active either way.
Exploring the Console Features
Once connected, the VoltOps Platform provides several views to help you understand your agent's behavior:
Agent List View
The main view often displays a list of active or recent agent sessions. This allows you to get a quick overview of agents that have run or are currently running.
Agent Detail View
Clicking on an agent session in the list will take you to the detail view. This is where you can dive deep into a single agent's execution.
Execution Trace/Timeline
Within the detail view, you'll typically find a visual representation of the agent's execution flow. This might be a timeline or a graph showing:
- The sequence of steps the agent took.
- Which functions or tools were called at each step.
- The inputs and outputs of each step.
Memory Explorer (Messages & Steps)
The Memory Explorer now includes two tabs:
- Messages: Conversation history scoped to the selected user/conversation.
- Steps: Structured agent execution steps (LLM text + tool invocations) scoped to the active trace. When you pick a trace in Observability, the Steps tab automatically follows that selection so you can correlate logs, traces, and memory without re-filtering.
Additional details:
- Sub-agents show up inline (each step carries
agentId/subAgentIdmetadata). - Adapters that implement
saveConversationSteps/getConversationSteps(InMemory, LibSQL, Postgres, Supabase, Managed Memory, etc.) stream step data. Other adapters will display a notice: “Conversation steps are not supported by this memory adapter.” - Requests in the Steps tab do not auto-retry; the UI surfaces the latest snapshot so you can refresh manually if you’re replaying executions.
Message & Log Inspection
You can usually select individual steps in the execution trace to inspect the details, such as:
- The exact messages exchanged (e.g., prompts sent to an LLM, responses received).
- Internal logs or state information recorded by the agent during that step.
- Tool inputs and outputs.
Connection Management
The console provides feedback on its connection status to your local VoltAgent server (e.g., http://localhost:3141). Look for indicators (like the ConnectionAlert component) showing whether the connection is active or if there are issues. You might also find settings to change the target URL if your agent isn't running on the default http://localhost:3141.
Remember, this connection is for local debugging. For production persistence and monitoring, just add .env keys and remote export auto-enables. VoltOpsClient is no longer required for observability and is only needed if you want dynamic prompt management.
Migration Guide
If you used the deprecated telemetryExporter or configured observability via VoltOpsClient, migrate as follows:
- Before (Deprecated ❌):
telemetryExporterinVoltAgentoptions. - Now (✅): Remove exporter/client observability wiring. Add
.envkeys. Optional advanced overrides go throughVoltAgentObservability.
Minimal example after migration:
// .env contains VOLTAGENT_PUBLIC_KEY and VOLTAGENT_SECRET_KEY
import { VoltAgent, Agent } from "@voltagent/core";

new VoltAgent({
  agents: {
    main: new Agent({
      /* ... */
    }),
  },
});
// Remote export auto-enables when keys exist; no code changes needed
Notes:
- OpenTelemetry base: The new system uses OpenTelemetry under the hood and exports via OTLP HTTP.
- No extra usage overhead: Export is lazy-initialized and batched; local debugging stays instant.
- Prompts still optional:
VoltOpsClientnow focuses on prompt management. Use it only if you want dynamic prompts.
Deploy to Production
Ready to deploy your agent? VoltOps Deploy offers one-click GitHub integration, automatic builds, and managed infrastructure for your VoltAgent projects.